road bike build - from scratch

sruge

Likes Dirt
+ 1 from me - hugely impressed with your knowledge, skills and range of tools. As one of the world's most incompetent handypersons, I am really enjoying the vicarious therapy of quality, productive shed-time!
 

tmarsh

Likes Dirt
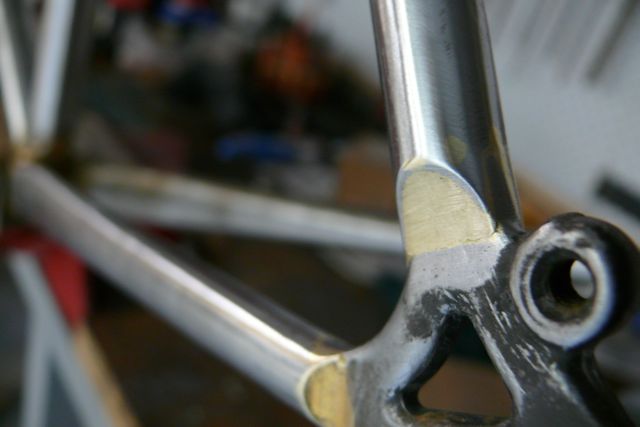
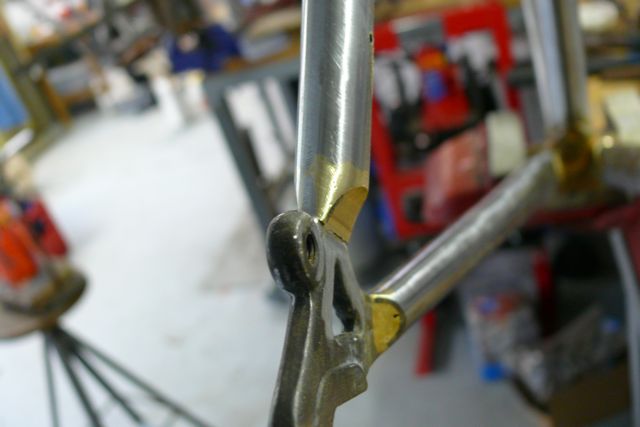
Just a quick update. Stole some time this afternoon to work on cleaning up the seatstay to rear dropout join. I said some while back that you do these by adding an excess of brass and then carefully filing and shaping it back to a smooth joint. I do the front and back of the join first, filing the brass an steel tab of the dropout down to a nice smooth transition, and then I hit the sides of the join with a sanding drum to get a concave face at the bottom of the stay.


It's a ridiculous amount of work for such a tiny joint. I'm sure with better brazing and heat control I could get the work required down a bit but for the moment it's a real time soak.


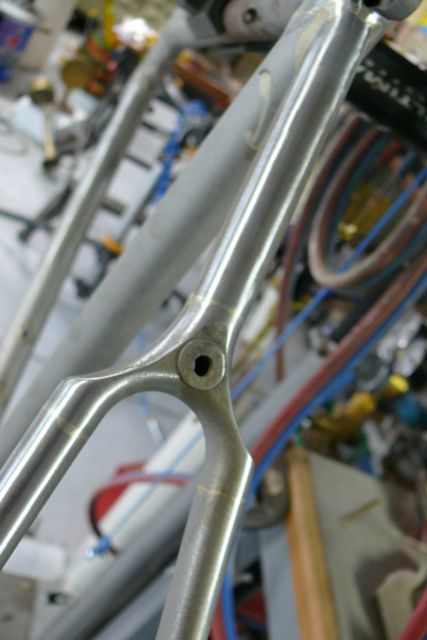
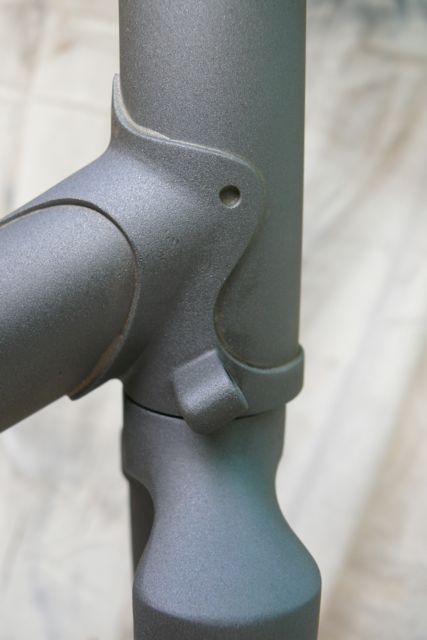
A while ago I posted a pic of a frame I made for myself last winter. It's been off to the blaster's to get sandblasted and I'm just giving it the once-over before getting it painted. I used a wishbone read stay on this one. You can see where the seatstays join into the Y-shaped yoke and where the single tube continues up to the back of the seat cluster. Looks cool, but I'm not in a hurry to do another one.


Thanks for all the kind words of encouragement. It's a little embarrassing to hear some of it: the work I'm doing is appallingly primitive compared to the real pros. Still, I'm having fun and I'm glad people are getting a kick out of watching the process.
 

tmarsh

Likes Dirt
Adding the final touches...

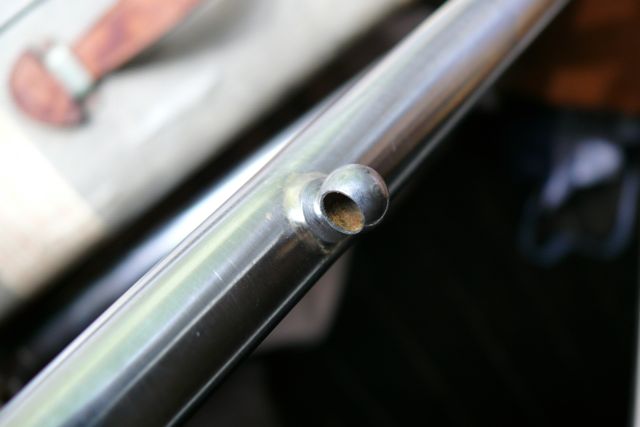
First the braze-on stop for the rear derailleur cable. Obviously it's running on the underside of the drive-side chainstay. First I cleaned up the chainstay with some fine sandpaper to get it nice and clean...


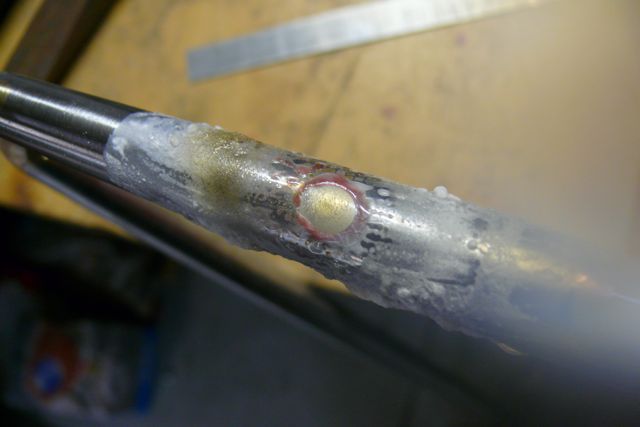
...then fluxed it up and put a tiny blob of silver filler onto the tube...


...then put the clean, fluxed stop on top of the silver, weighted it down with my 'brazing finger' and gently sweated it with the torch until the whole thing came up to temperature and the silver flowed neatly around the cable stop.


Hard to see with the flux still in place, but it's got a neat radiused fillet of silver around it, blending with the tube nicely.


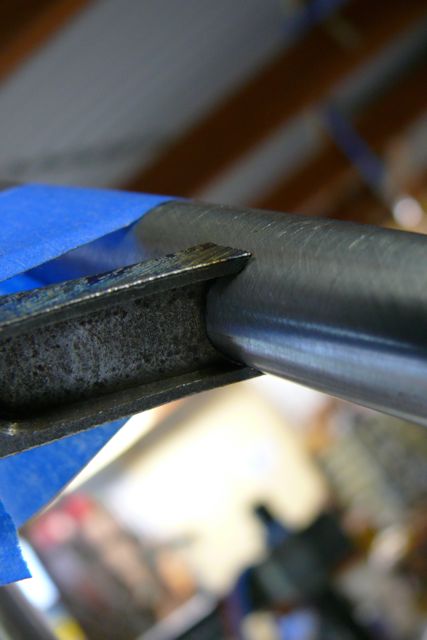
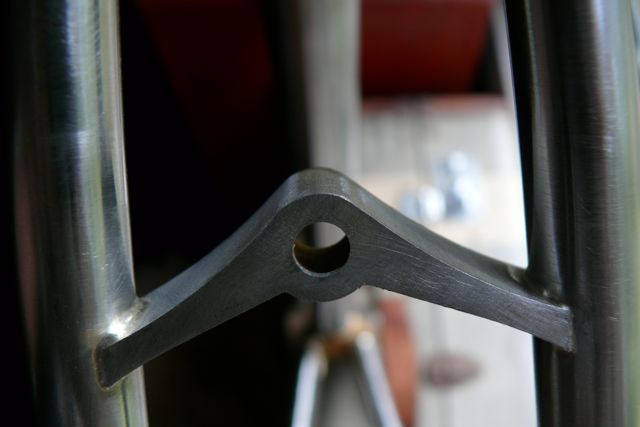
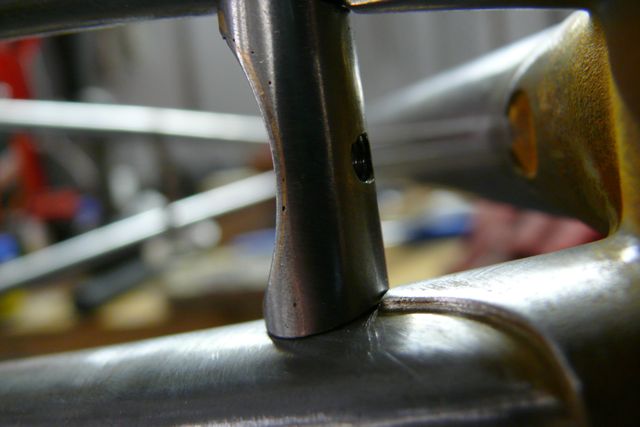
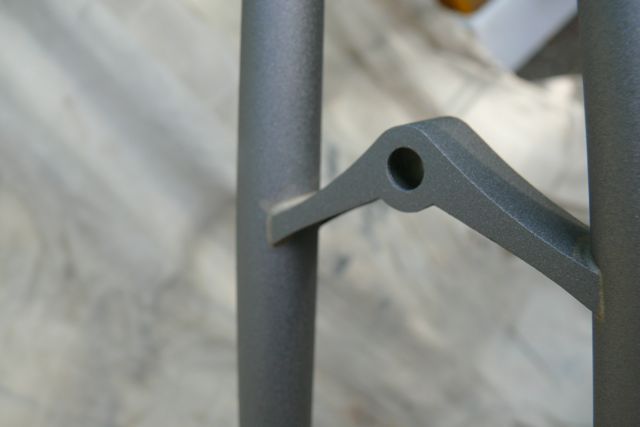
Next, the rear brake bridge. I'm sure there are simple and fast ways of doing this, but I didn't want to take the risk of buggering it up as (a) it's my last brake bridge of this type and (b) the closer I get to finishing this frame the less I want to mess anything up. So I scribed some lines on the bridge - same distance from the edge on each side - and used the lines to ensure that I kept both sides of the bridge even as I was trimming it to length. I would file it down with a round file and then smooth out the filed scallop with a grinding stone I'd dressed to be the same diameter as the seat stay.


Because of the curved nature of the bridge, I had to have some way of knowing when the brake hole was at the correct height, so I ran a piece of tape across it to give me a reference.


And after a lot of patient filing and grinding, this was the result: a very neat tight fit with no gaps. Should braze up very nicely indeed.


And below, the finished bridge, ready to go in. I'll braze this in tonight, which just leaves the chainstay bridge till it's all finished.


Edit:
The next day, post clean-up...


And the brake bridge. As I was doing all of the mitering to get this to fit I was cursing the design of the bridge and it's v-shaped profile. Compared to a straight bridge it's a pain in the arse to fit. But all faults were forgiven once I soaked the flux off. All of the effort in getting a tight miter paid off and it looks fantastic. Will definitely use these again.
 
Last edited:

tmarsh

Likes Dirt
And last of all, the chainstay brace.

All mitered up, and snug against the squared off points of the bottom bracket lug.


And from another angle...


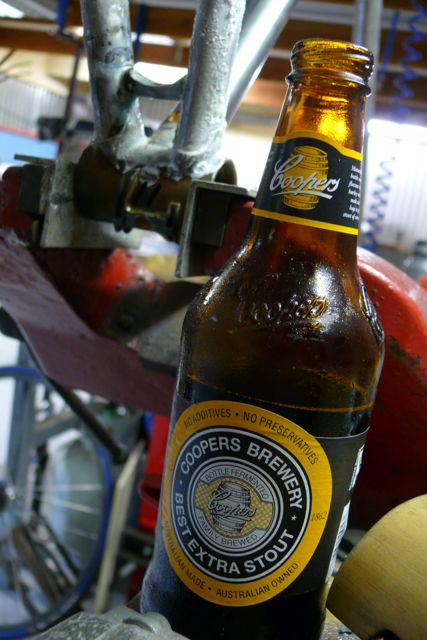
This chainstay brace was brought to you by Coopers Stout. You can see the frame - toasty flux and all - cooling in the vice.


From now on, the work is largely cosmetic - cleaning up around the bottom bracket, tapping the threads in the BB and generally cleaning up around the edges - aka shorelines - of the lugs. But basically, you could whack some wheels and a groupset on this thing and ride it now.
 

stu-2

Likes Dirt
this is a terrific thread, will be looking for a steel bike as a trainer soon would be interested in one of yours.
 

tmarsh

Likes Dirt
DB's bike back from the local sandblaster. I'll have to keep it somewhere warm and dry until it hits the painters: freshly blasted steel rusts like a mofo.


the whole frame...


head tube...


top tube...


lower head lug and fork crown...


brake bridge...


bottom bracket and bridge....

Hopefully the next shot has it with some paint on it.
 

RCOH

Eats Squid
I've been on Farkin for coming on 8 years and this thread is one of the very best ever posted. Thanks for posting the creative process, it has been amazing to follow and like everyone else who has posted, my hat goes off to you. Excellent stuff. :)
 

EzyLee

Likes Dirt
Yeah likewise. I keep coming back and just admiring the attention to detail and workmanship. I have shared this thread on a couple of other forums and the response is amazing. You have some fine skills. The owner of the bike is going to be one lucky bastard.
 
Top