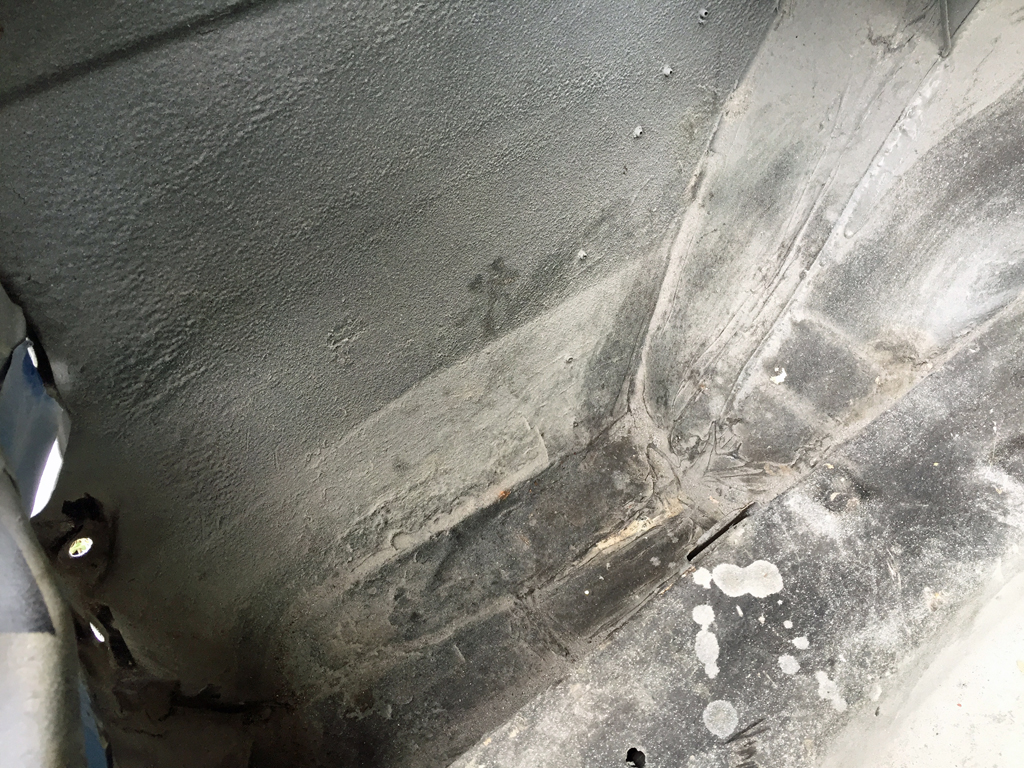
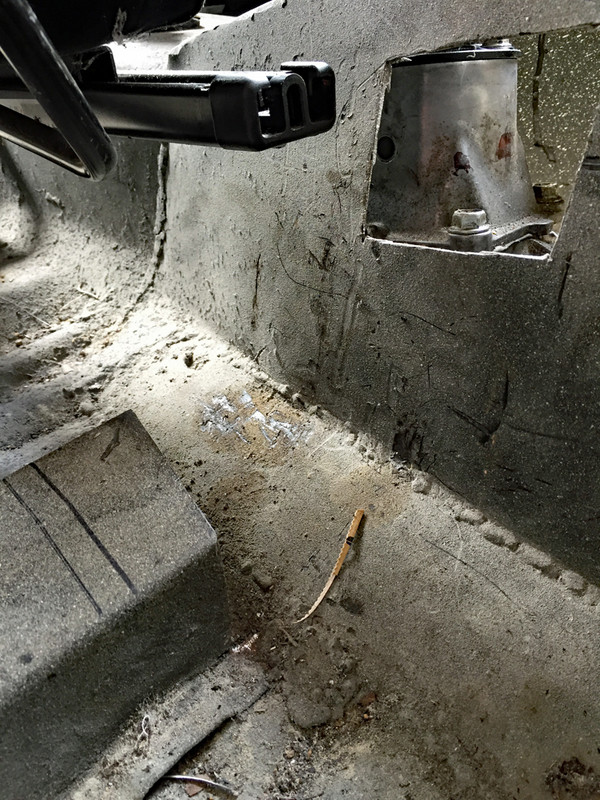
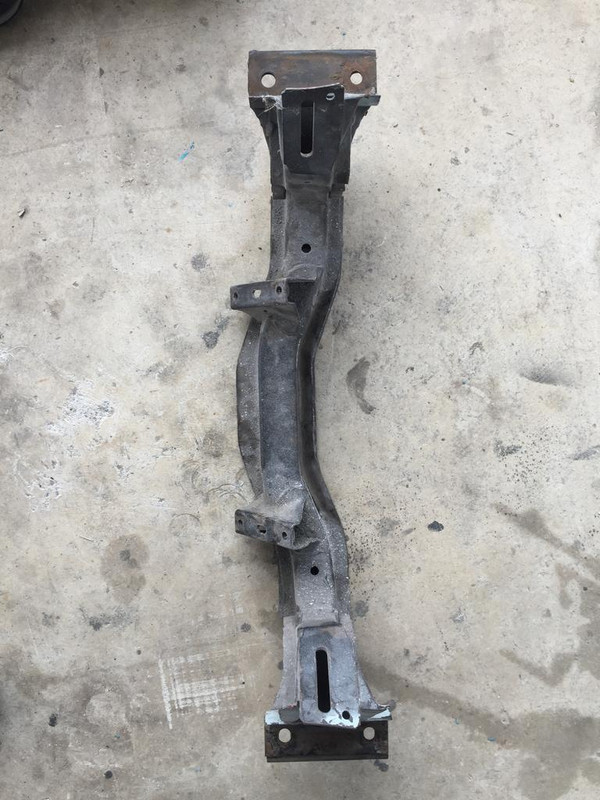
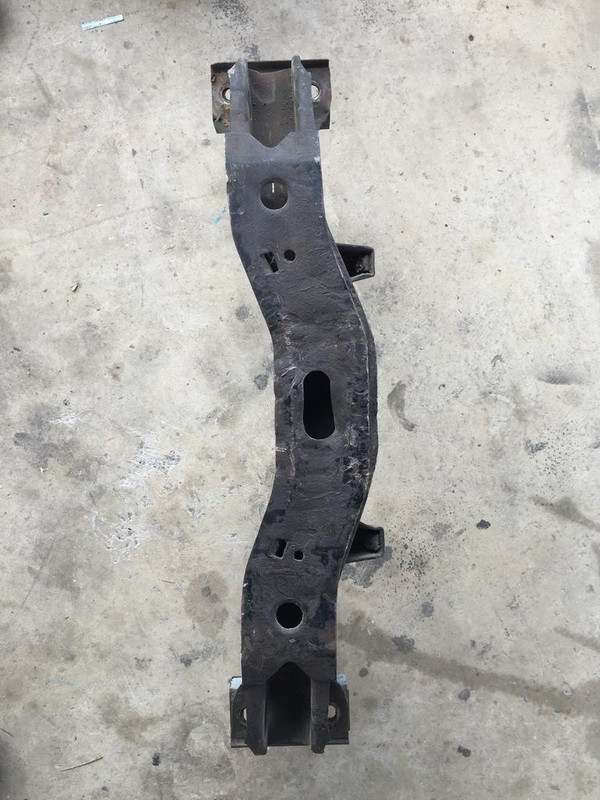
I thought I would share some of the process of making bits for the Escort. We have decided to mount the battery in the boot. This helps put some weight back but also means we can go for a larger battery. The spare tyre sat in the LHS well but there is no way a 205 or 225 tyre will fit in there so the spare will lay flat on the boot floor. We are fitting the larger of the two fuel tanks used here and the RS2000 tank sits under the boot floor. The well was rusted through like probably every Escort still on the planet so the floor has been replaced.
This is the space. Plan was to drop the battery 50mm or so into the well. Unlike most projects where a drawing is the start I mostly sketch up what we are looking to do and then measure, throw some dimensions on the sketch and go back and forward until it is done. This is easier for me to do with a simple hand sketch. Sometimes, for example the seat mount support, it is easier to just cut and fit until it is done. This is because the tunnel tapers and diverges and the floor slopes up to meet the tunnel. It isn't worth the time to draw it up to start. For the observant the rivets are holding the flares onto the guards.
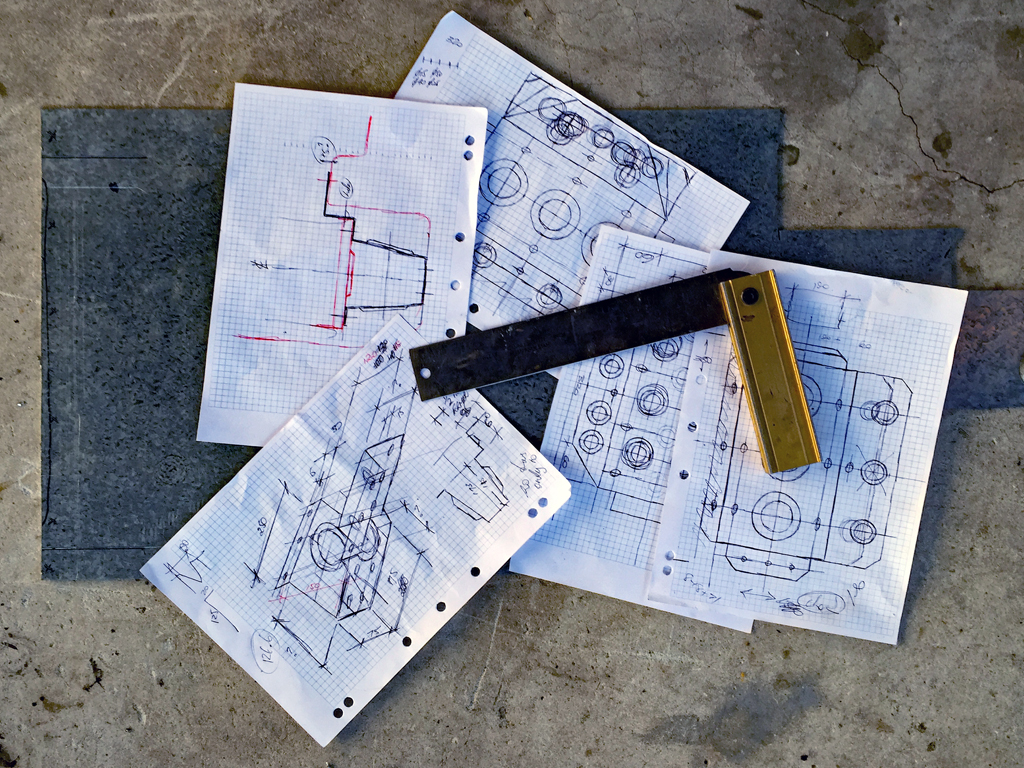
The battery box style and shape changed a few times. As the Escort will have an electric demist system it will have a decent battery so the box was made to accommodate an N70 battery. Can go to an 11" battery by flattening the end folds if we need more capacity. Either AGM or vented depending on what we end up with.
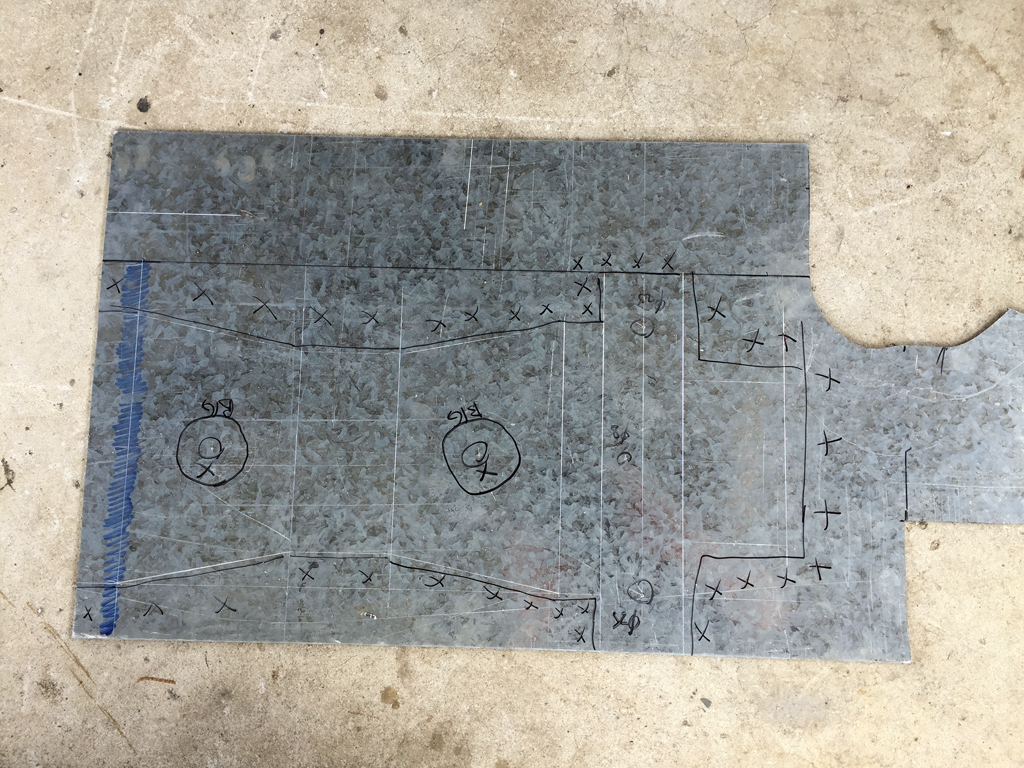
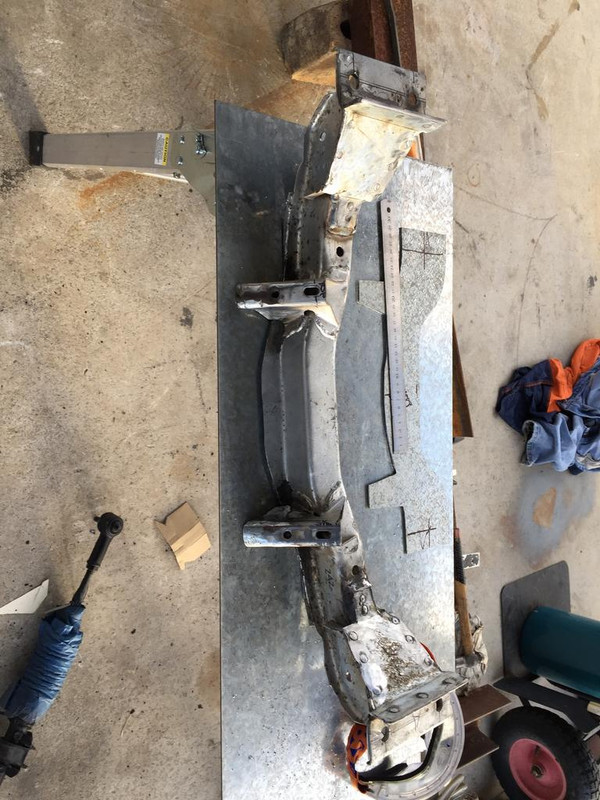
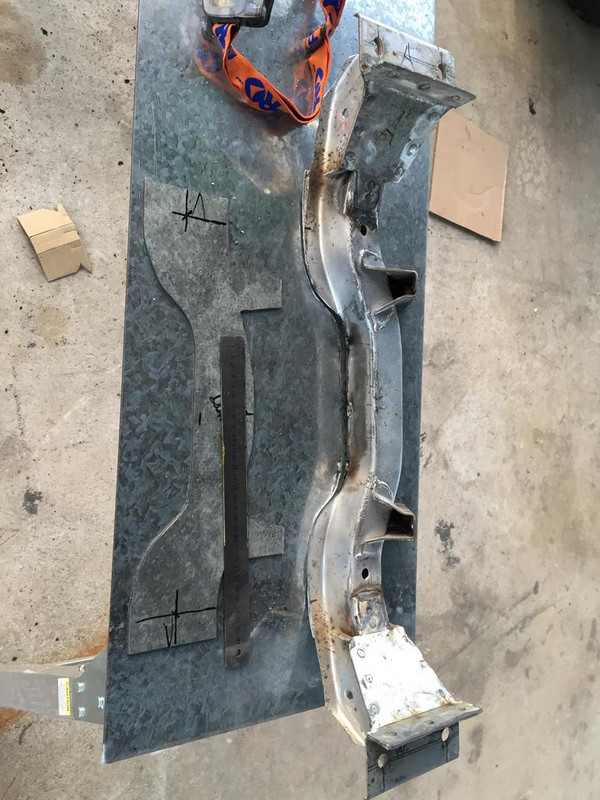
The shape is laid out on the sheet and then cut out. I used the left over 2.4t gal sheet. It didn't need to be this heavy and if I didn't have the material lying around I would have used 1.6t. By the time it is folded and dimpled it would be easily strong enough.

The bits were folded up, which was a bit of a trial because the folds interfered with access in the press but anyway it was done. I hit the bits with a product called black zinc. If you see this in a shop do not buy it. It is shit. I will end up stripping this off and use etch primer and paint it properly. Serves me right for trying to short cut the process.
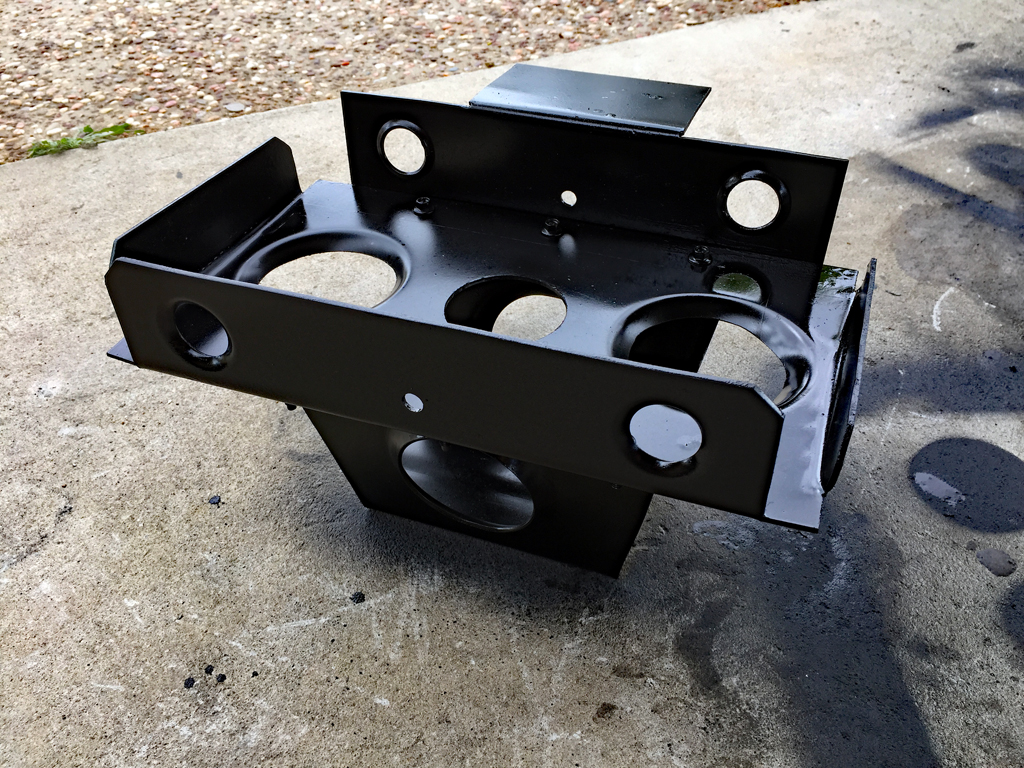
This is how it ended up. I was going to weld the two pieces together but #1 wanted the battery tray to be removable in case he needed to get into the well. The frame will be fixed to the floor of the well and a bracket will connect the tray to the wheel tub. The frame will also be fixed to the boot floor on the inside.
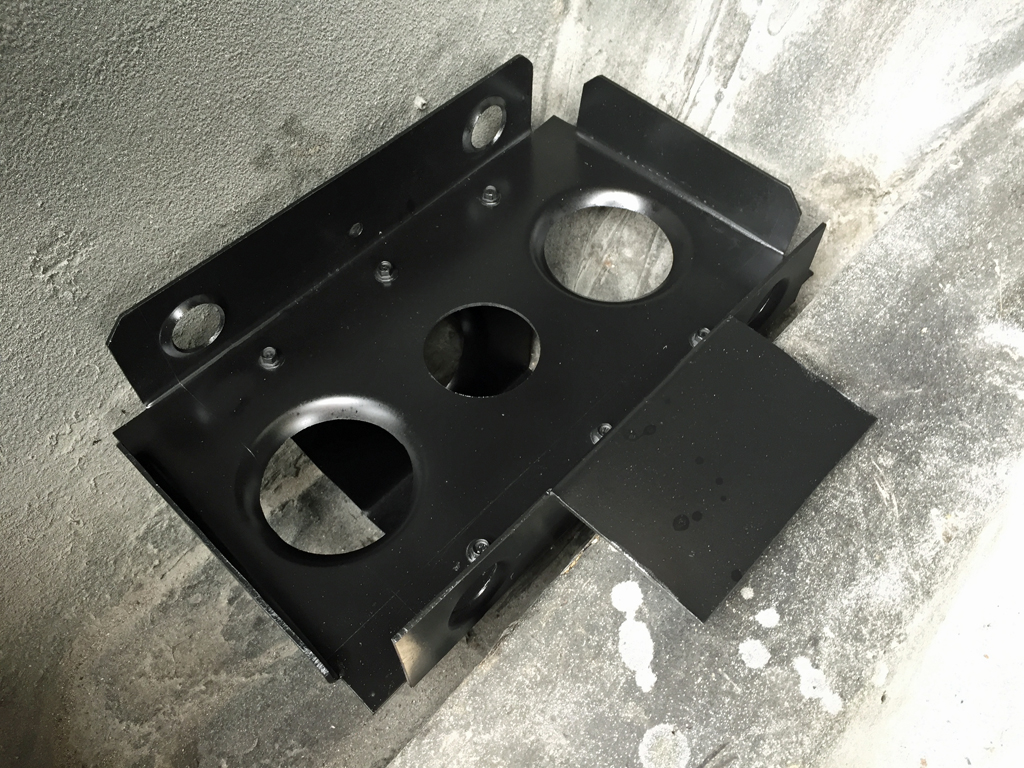
And here it is in place. Now dear reader it is time for a confession. I done fucked up. I decided while I was laying out the shape to drop the battery another 10mm into the well. It would just clear. But I forgot to take the 10mm off the bottom fold so the section which is destined to be fixed onto the top of the floor is about 10mm proud. I will decide what to do about that later. Probably just bend it over and weld that to the floor but I will see. I wanted the flat section that size to allow for circuit breakers and master fuses to sit next to the battery before the cables run forward.
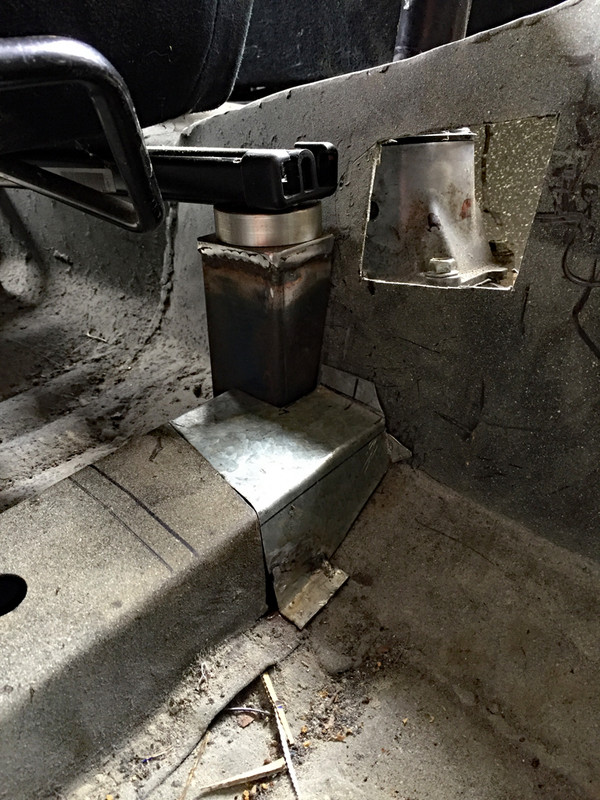
And if you are still awake here is the seat mount. Took the best part of a day and I have a little bit left to do. The post goes all the way to the floor and the channel is just an extension of the old seat mount which will act as a brace.
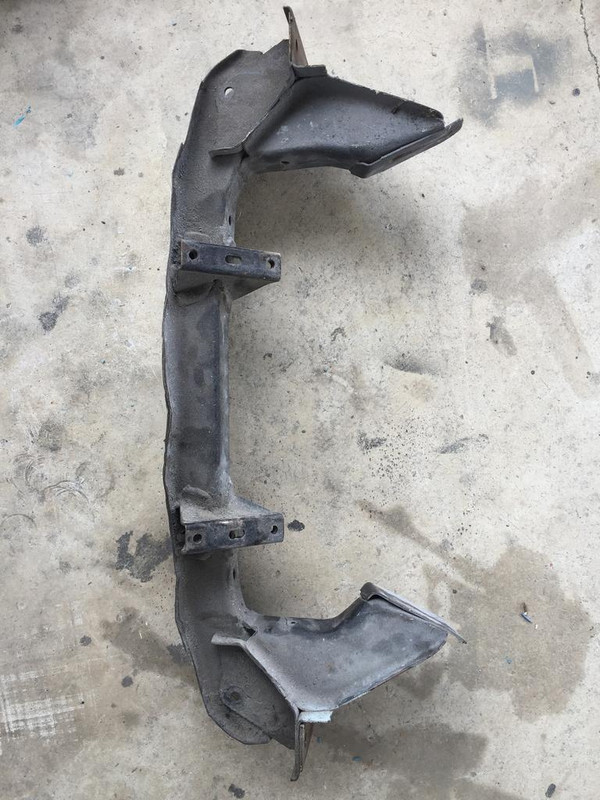
What was left after the tunnel was made biggerer.
And the final seat support.
Thanks for watching this week's episode.

")